Virtual Showdown
A downloadable accessible game
Introduction
Virtual Reality (VR) is a growing source of entertainment, but people who are visually impaired have not been effectively included. Audio cues are motivated as a complement to visuals, making experiences more immersive, but are not a primary cue. To address this, we implemented a VR game called Virtual Showdown. We based Virtual Showdown on an accessible real-world game called Showdown, where people use their hearing to locate and hit a ball against an opponent. Further, we developed Verbal and Verbal/Vibration Scaffolds to teach people how to play Virtual Showdown. We assessed the acceptability of Virtual Showdown and compared our scaffolds in an empirical study with 34 youth who are visually impaired. Thirty-three participants wanted to play Virtual Showdown again, and we learned that participants scored higher with the Verbal Scaffold or if they had prior Showdown experience. This is a standalone version of the game used in this study. It now utilizes a mix of voice commands, keyboard interactions, and Switch Joy-Con button pressed to allow players to play the game without researcher support.
Requirements
- Windows OS (An Intel Motherboard is required.).
- Bluetooth Enabled Computer (In order to connect headphones and Nintendo Switch Joy-Con to computer.).
- Wireless Headphones or Earbuds.
- Nintendo Switch Joy-Con (To play Showdown. Not required for Showdown Drill.).
- Kinect 2.0 with computer adapter.
Credits
- Original Project and Study: Ryan Wedoff, Lindsay Ball, Amelia Wang, Yi Xuan Khoo, Lauren Lieberman, and Kyle K. Rector
- Revamped Project: Heather Kemp (@IAmHeatherKemp)
- Menu Narrator: Alic Szecsei (@aszecsei)
- Game Narrator: Malcom Queneau
Download
Install instructions
Setting Up the Kinect
- Place the Kinect at least 3 feet off of the ground by placing it on a table, mantel, or bookshelf. If there is no tall surface to place the Kinect, rotate the box that packaged the Kinect sensor so it is at it's tallest. Place this box on a stable surface, and place the Kinect at the top of the box.
- The front of the Kinect will have 3 circular indents. The Kinect should face an open space so you have plenty of room to move safely. While we recommend at least 6 feet of open space for your safety, the device can be used in smaller spaces, so long as you can stand approximately 3 feet away from the device.
- Once the Kinect has been placed, plug the power cable for the Kinect sensor into the wall. Depending on how your Kinect came packaged, you may need to attach a wire from your Kinect into the power pack of this cable to provide it power.
- Plug the USB cable for the Kinect sensor into your computer's USB port. Your computer should automatically download and install the required files. This may take several minutes.
- (Optional/Troubleshooting) If your drivers aren't downloaded automatically (usually due to security settings), please download the drivers and runtime dependencies here.
Pairing the Nintendo Switch Joy-Con to Your Computer
- Open your PC's settings menu (Windows Key + i)
- Select "Devices"
- Ensure that you are currently on the "Bluetooth & other devices" tab. You should be, as this is the default tab.
- If your Bluetooth toggle isn't on, be sure to turn it on at this time.
- On the top of the menu, select "Add Bluetooth or other device". You will want to select the "Bluetooth" option.
- Hold down your Joy-Con's sync button, which is the tiny black dot located between the SL and SR buttons. (The SL and SR buttons are located on the flat side of the Joy-con when you hold it with the joystick facing you.)
- Select Joy-Con (L) or Joy-Con (R) from the menu depending on which controller you are using. The name will differ whether you are using the left or right Joy-Con. Your controller is now paired!
Game Instructions
Download VirtualShowdown.zip from either GitHub or itch.io. Click on the zip and extract all of the contents. Depending on which unzipping software you use, you may be able to double click the zip to unzip the contents to a new folder. Otherwise, extract all files from the zip into one folder of your choosing using the software of your choosing.
Click on VirtualShowdown.exe. A popup will show up asking you for new configurations for inputs or graphics. The defaults for graphics are a full screen game. The defaults for inputs are the arrow keys for navigation and the enter key for confirmation. If this is okay, click on play to load the game.
As a quick note, narrations and prompts will not be read or will be interrupted if you make a selection or change selections using the arrow keys or enter key while they are being spoken. Prompts will be repeated after approximately 10 seconds if you do need a repeat.
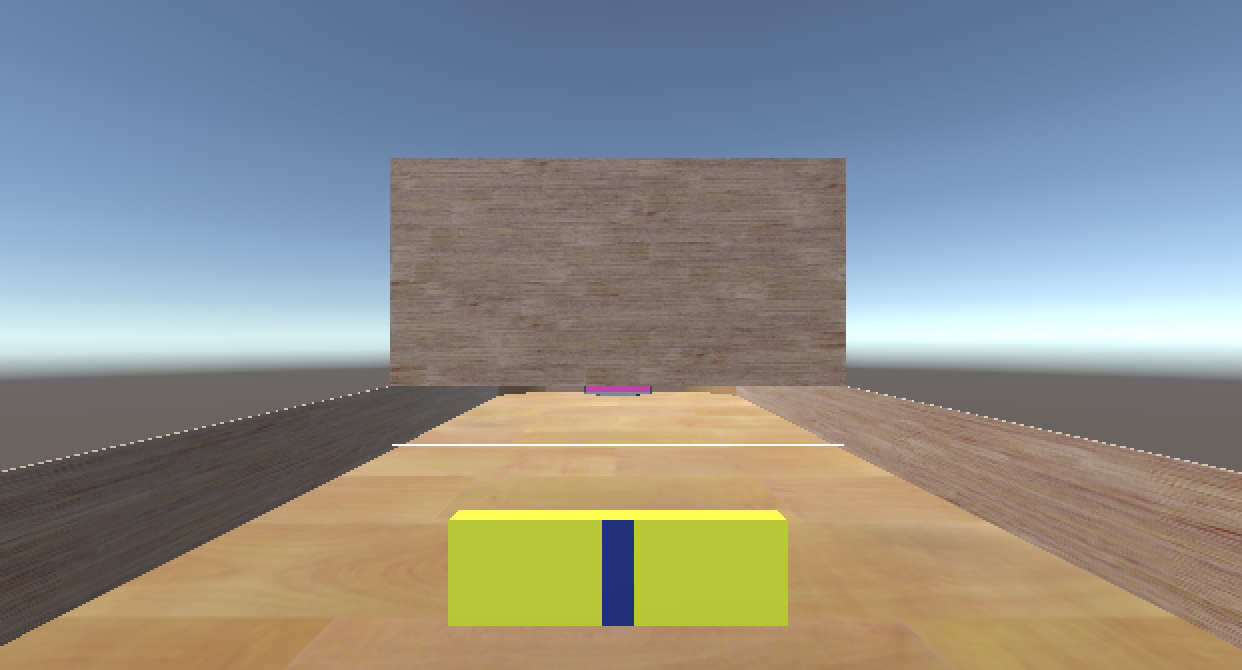
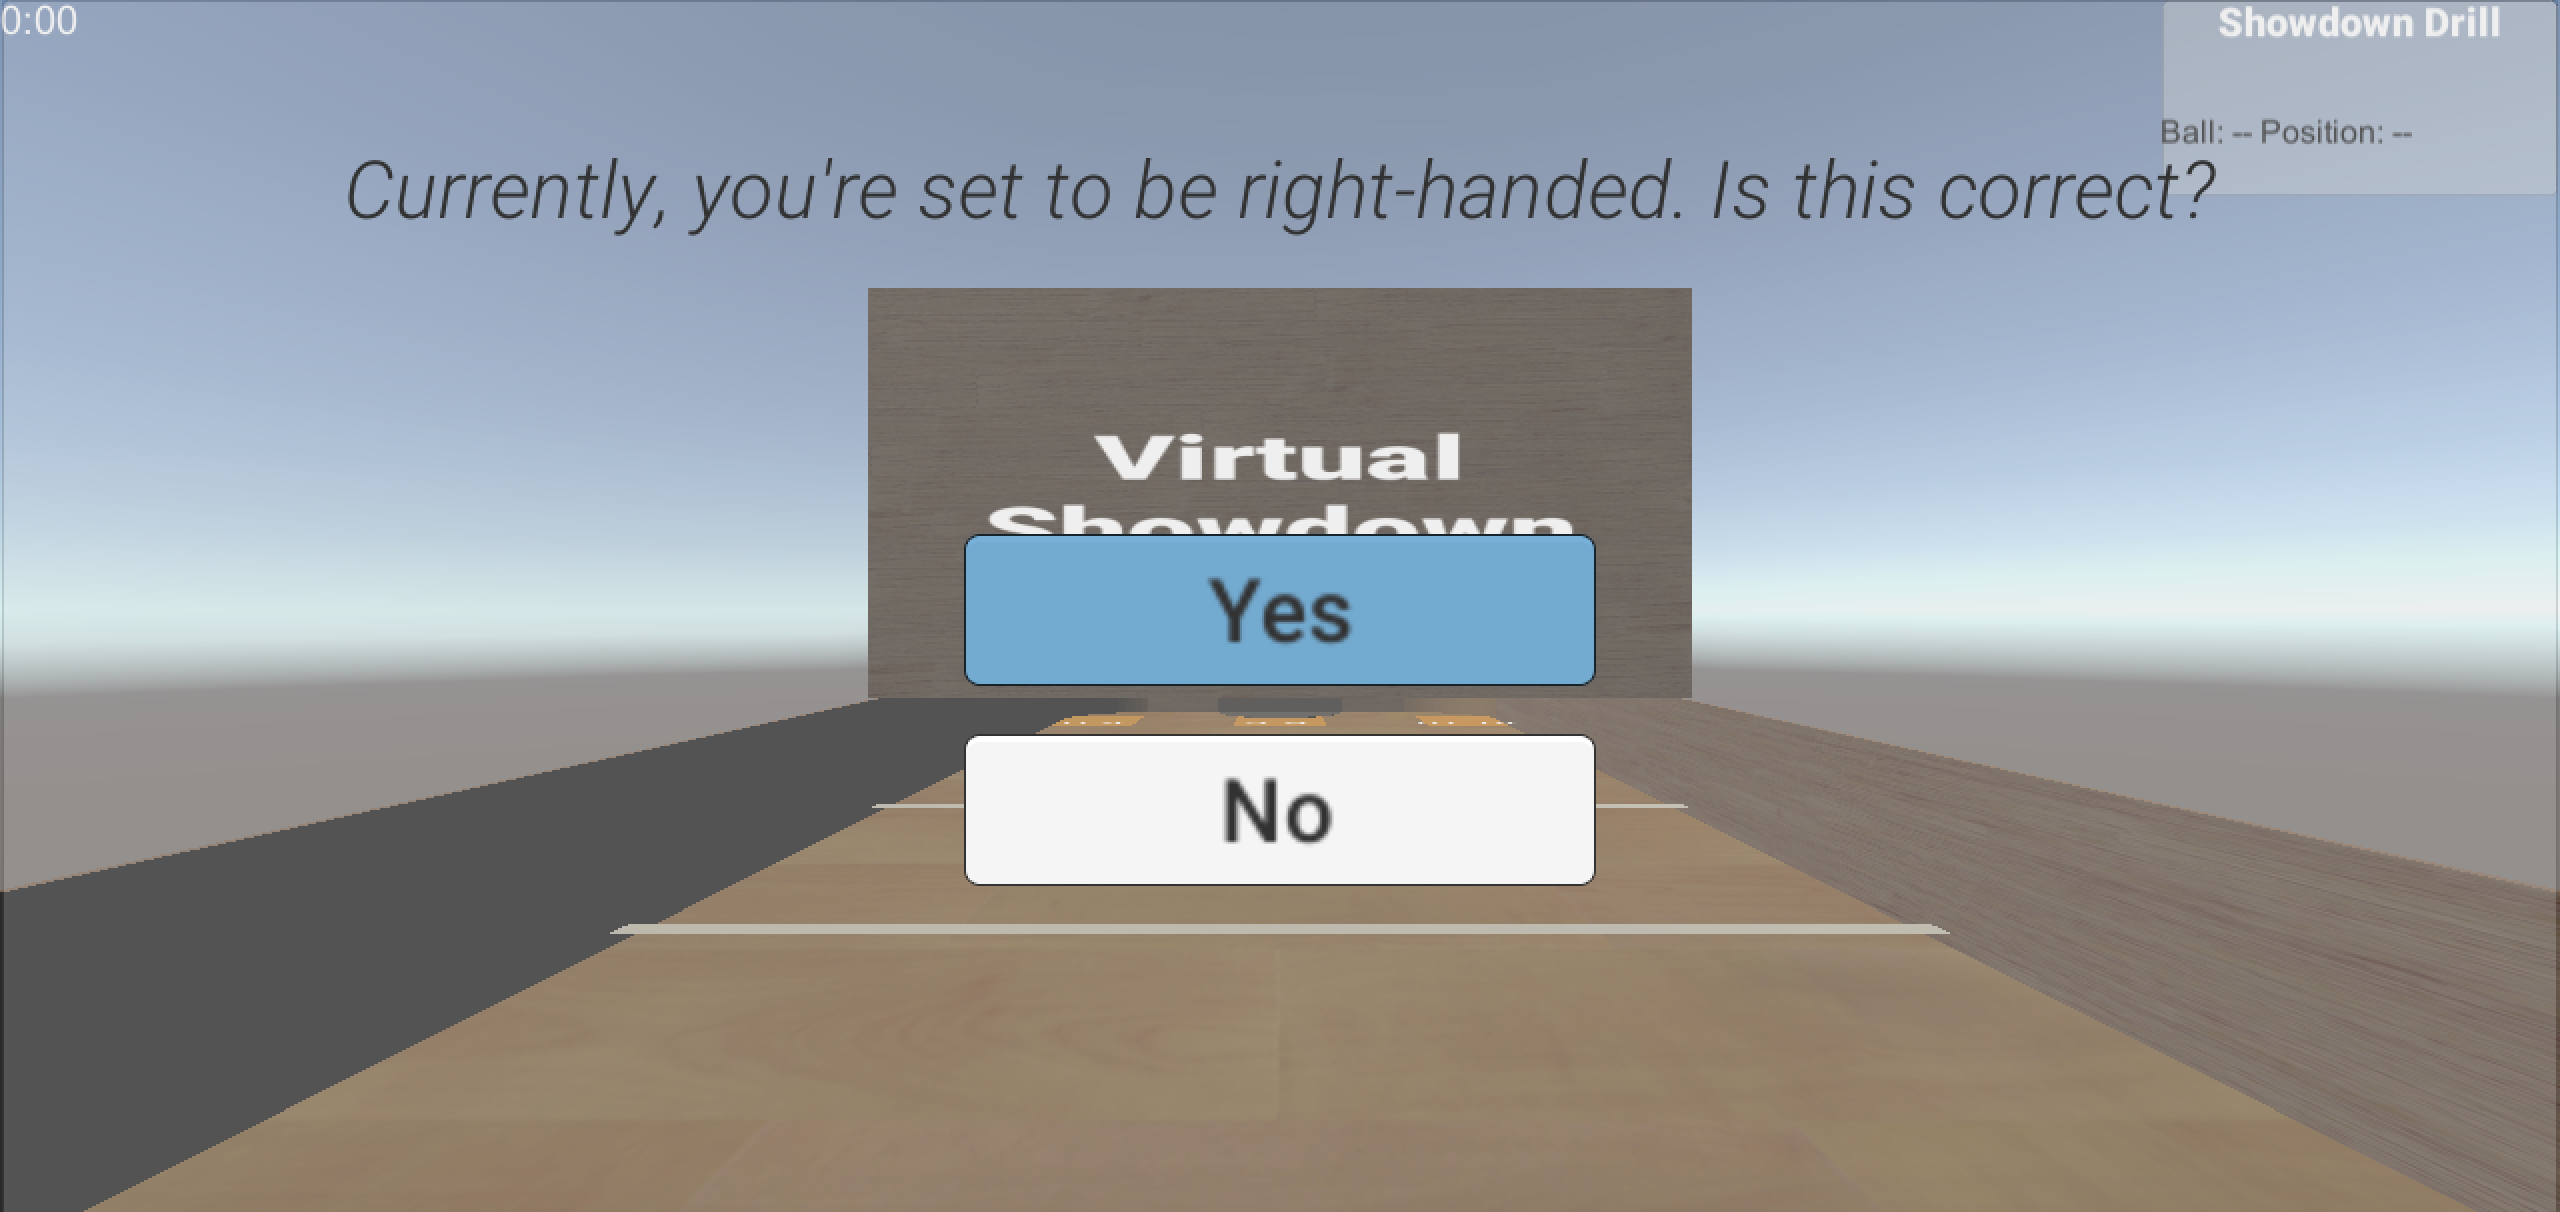
Put your <right/left> hand through the wrist strap to make sure the controller stays with you. Tighten the wrist strap. Place the controller on your <right/left> hand. Hold the controller so that you are comfortable. Make a relaxed fist around the controller. The controller will vibrate when you leave the play area, as a hint in Showdown Drill, as well as when you hit the ball. No controller buttons are necessary for Showdown Drill. For Showdown, you will be asked to press any of the controller buttons to set the ball when it is your serve. When asked which handedness you are, please answer according to which hand you are holding the controller in. That is, even if you are left-handed, if you are holding the controller with your right hand, please say that you are right-handed.
You will also wear headphones, so you can hear the ball. The headphones will play sound based on where the ball is located. If you hear the sound louder in your right ear, then the ball is to your right. If you hear the ball louder in your left ear, then the ball is to your left. Sometimes it will be in the center of the table, so you will hear the sound equally in both ears. We suggest you move your head to locate the ball more easily.
The sound may be different, but we designed the sound to help you find the ball. The key is that ball gets louder as it gets closer to you.
When you leave the play area, a beeping noise will start playing. If you hear the sound louder in your right ear, then you have moved too far to the right. If you hear the ball louder in your left ear, then you have moved too far to the left. If you hear it in both ears, you have either wandered too far forward or too far back. If you have vibrations enabled, you will feel a vibration that gets stronger the further you are outside of the play area.
You will hear a “hitting” sound when you hit the ball, and, if you enable vibrations, feel a vibration as well.
In Showdown Drill, you will be served a ball by a computer trainer. For every ball, you can earn points. You earn:
- 3 points if you score a goal
- 2 points if you hit the ball past the halfway point, but do not score a goal
- 1 point if you hit the ball but it moves slowly
- 0 points if you miss the ball
There are seven levels. You advance to the next level by hitting four out of the past six balls. In levels 1-3, you will hear verbal hints.
First, you will hear a preview of where the ball is coming from and where it is going. Second, as the ball is halfway across the table, you will hear which direction you still need to move your hand if necessary. If you have vibrations enabled, in levels 1-3 you will feel a vibration that gets stronger as the ball moves closer towards you.
Levels four and beyond will not have hints, so the ball will move faster as you advance.
In Showdown, you will play against a computer. Once the game has started, the game is played to 11 points. You earn:
- 2 points for scoring a goal
- 1 point if the ball stops moving on the other side of the table
If there is a tie, you must win by 2. The play starts with a serve. When it is your serve, place your hand where you want to start the serve from. Then press the trigger button to set the ball down. The ball will remain stationary on the table until you hit it.
When in the menu screens interaction with the game will be done through the keys on the keyboard, or a mouse if you prefer. Press the up and down arrow keys to navigate through the buttons and hit Enter when you’re ready to confirm that option. If you chose to use a mouse, simply click on a button to confirm its option.
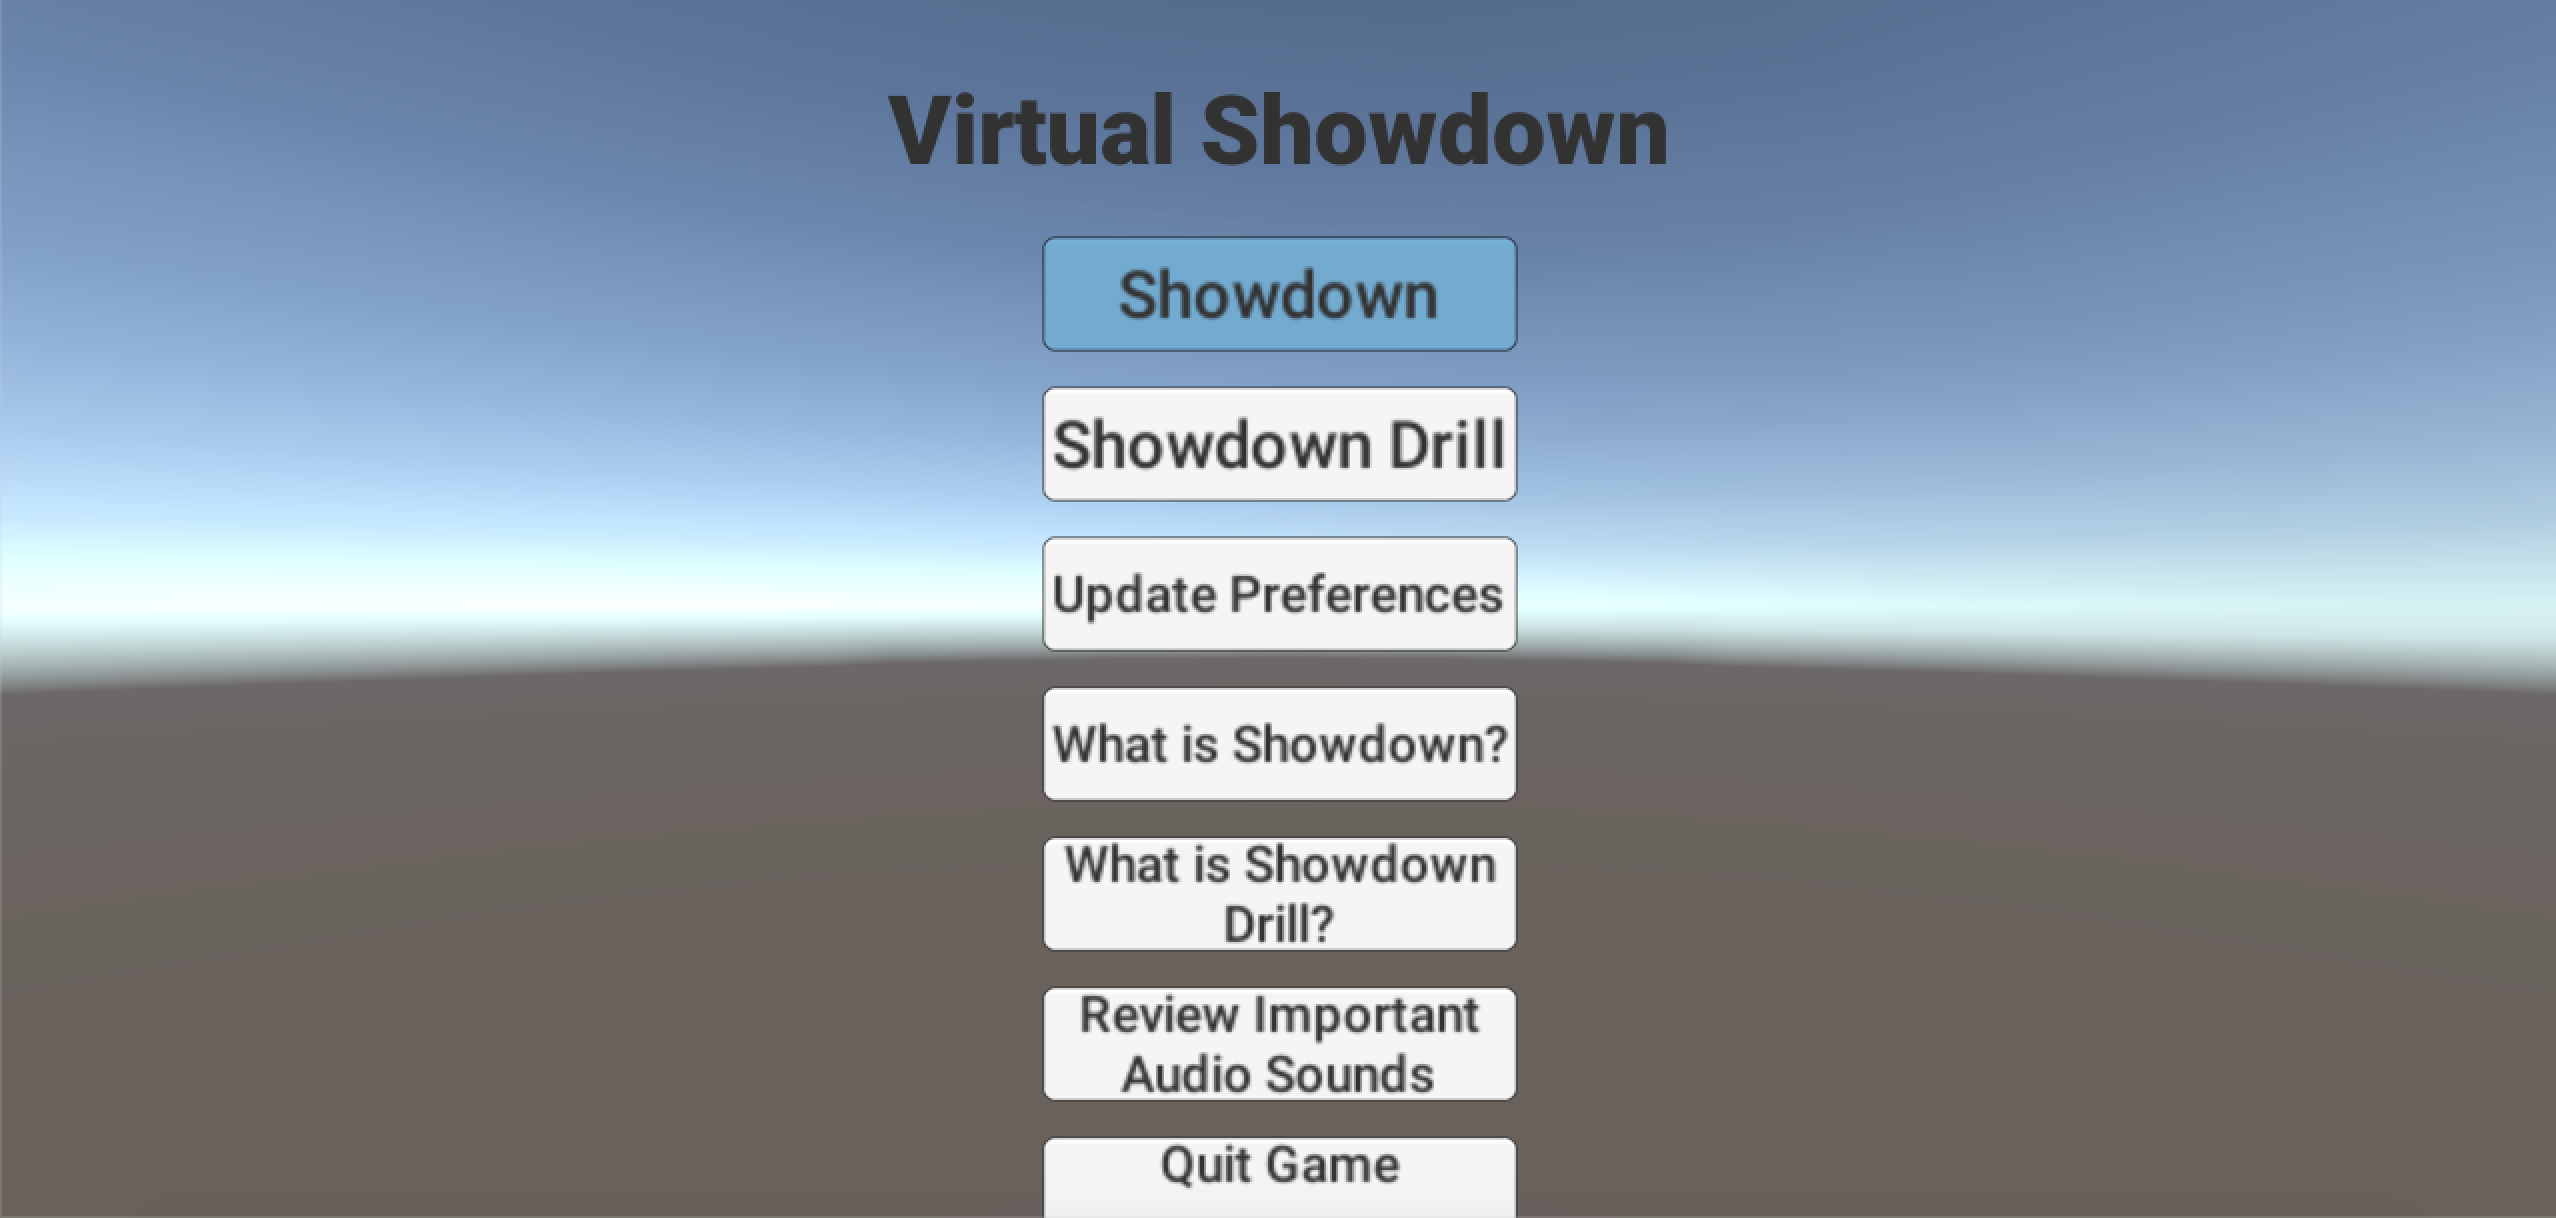
From the main menu, you can select one of 7 options. Choosing “Showdown” or “Showdown Drill” will start these game modes. Choose “Update Preferences” if you want to update your handedness or Joycon vibration settings. To review what both game modes of “Showdown” and “Showdown Drill” contain, select “What is Showdown” or “What is Showdown Drill” respectively. To listen to the audio cues mentioned above (ball rolling, ball hitting the ball, paddle hitting the ball, and the out of bounds sound), select “Review Important Audio Sources”. Make sure you listen to them before starting the game to know what to listen for. As a note, they will play in both ears. Finally, when you want to quit the game, select “Quit Game”.
Once body tracking has started for either Showdown Drill or Showdown, you will then control the game modes through voice commands. You will say “Ready” when you’re ready to start the game, “Quit” to return to the main menu, and “Restart” to restart that game mode.
Troubleshooting "Pairing the Nintendo Switch Joy-Con to Your Computer":
Question: What should I do if my Joy-Con’s syncing lights continue to flash even after following these steps?
Answer: This is, unfortunately, just how the Joy-Con is programmed to work when synced with a computer. Provided that you ran into no errors during these steps, your device will be paired and connected correctly, though. If the game still can’t detect your Joy-Con, go back to your Bluetooth settings (Steps 1-4 of the “Pairing the Nintendo Switch Joy-Con to Your Computer” section) and click on the Joy-Con under Paired Devices. You should then be able to click to forget the Joy-Con device. Then, repeat these steps to sync the device.
Question: What should I do if the device asks for a pin?
Answer: Thankfully, the Switch uses the default pins for Bluetooth devices. Try "0000", and if this doesn't work, try "1234". If neither of these work, please consult your Joy-Con manual or provider, as they may have changed the pin for the device.